

Wall Mounting
Remove the heater, mounting kit, and packaging insert frame from the box. Keep the packaging materials for future use.
 Fig 01
Step 01
Unwrap and flatten the sides of the packaging insert frame (mounting template) and stand the template on the floor. The sides of the template have pre-punched holes to mark the heater mounting height for either 6” or 8” (15 or 20cm) from the bottom of the heater to the floor. Choose either mounting height, and mark three hole locations on the wall. (see Fig. 1). The top two hole locations are for the mounting clips and the bottom location is for a third mounting screw hidden inside the bottom access door as described in step 5 below.
NOTE: Most installers use the internal locking bar screw ONLY instead of the bottom mounting hole.
 Fig 02
Step 02
Screw the anchors (Fig. 2) into wall at the marked locations.The distance from the top screws to the floor should be approx. 19” to 21” (48cm to 53cm).If a stud is in the way, do not use the drywall anchor supplied, just drive supplied mounting screw directly into the stud. For masonry walls, use the masonry wall anchors provided and drill a 4.5mm (3/16inch) hole using a masonry drill bit (not supplied).
 Fig 03
Step 03
Screw the two mounting clips (with arrow pointing upward) into the top two anchor locations and secure firmly to the wall anchors using the provided screws. (see Fig. 3). DO NOT overtighten. There should be a gap behind the mounting clip to hang the heater on.
 Fig 04
Step 04
Note: make sure you pre-install the Locking bar screw before you mount the heater. (See Fig. 4 below). Install heater on mounting clips (align right side first) and make sure to press down firmly on the heater to ensure a secure fit. You will hear it “snap” into place. (Fig. 5 above)
Troubleshooting
If the heater will not operate, please check the following before calling for help with technical questions:
Safety Switch Check
The number one troubleshooting tip is to
check that the internal, electrical safety
switch (Wall-Sens™) is being engaged. Theheater WILL NOT OPERATE AT ALL if thisswitch is not engaged. This problem occurs when the right hand side of the
heater is not pushed down far enough
between the gap between the wall and the
mounting clip. The mounting clip can
become squished if it is screwed in too
hard. Uneven walls can also cause the same
mounting/wall switch problems.
Safety Switch Check
Check if the power cord is plugged into an electrical outlet and the heater is set to ON by confirming the light on the front of the panel is lit. If not, plug in the heater and press the on/off power button.
Safety Switch Check
If the heater has been hardwired, consult an electrician to check that all connections have been made correctly. Make sure that you hardwire the correct voltage. Many people do not understand how to work with 220volt wiring. Always triple check the voltage and the model heater that was purchased as this is a common mistake and can lead to heater malfunction and pose a serious safety risk.
Safety Switch Check
Check if there is electricity to the circuit by checking to make sure the breaker in the breaker box is in the “on” position.
Product Specifications
LE5022D/N Models = 2.27 Amps @ 220volts
(49.0cm W x 5.6cm D x 56.4cm H)
Safety Listings


Product Specifications
SE5022D/N Models - 2.27 Amps @ 120 Volts
(49.0cm W x 5.6cm D x 56.4cm H)
Safety Listings

Product Specifications
EM1022D/N Models - 4.54 Amps @ 220volts
(49.0cm W x 5.6cm D x 56.4cm H)
Safety Listings

So, Are You Ready To Live Warmly?
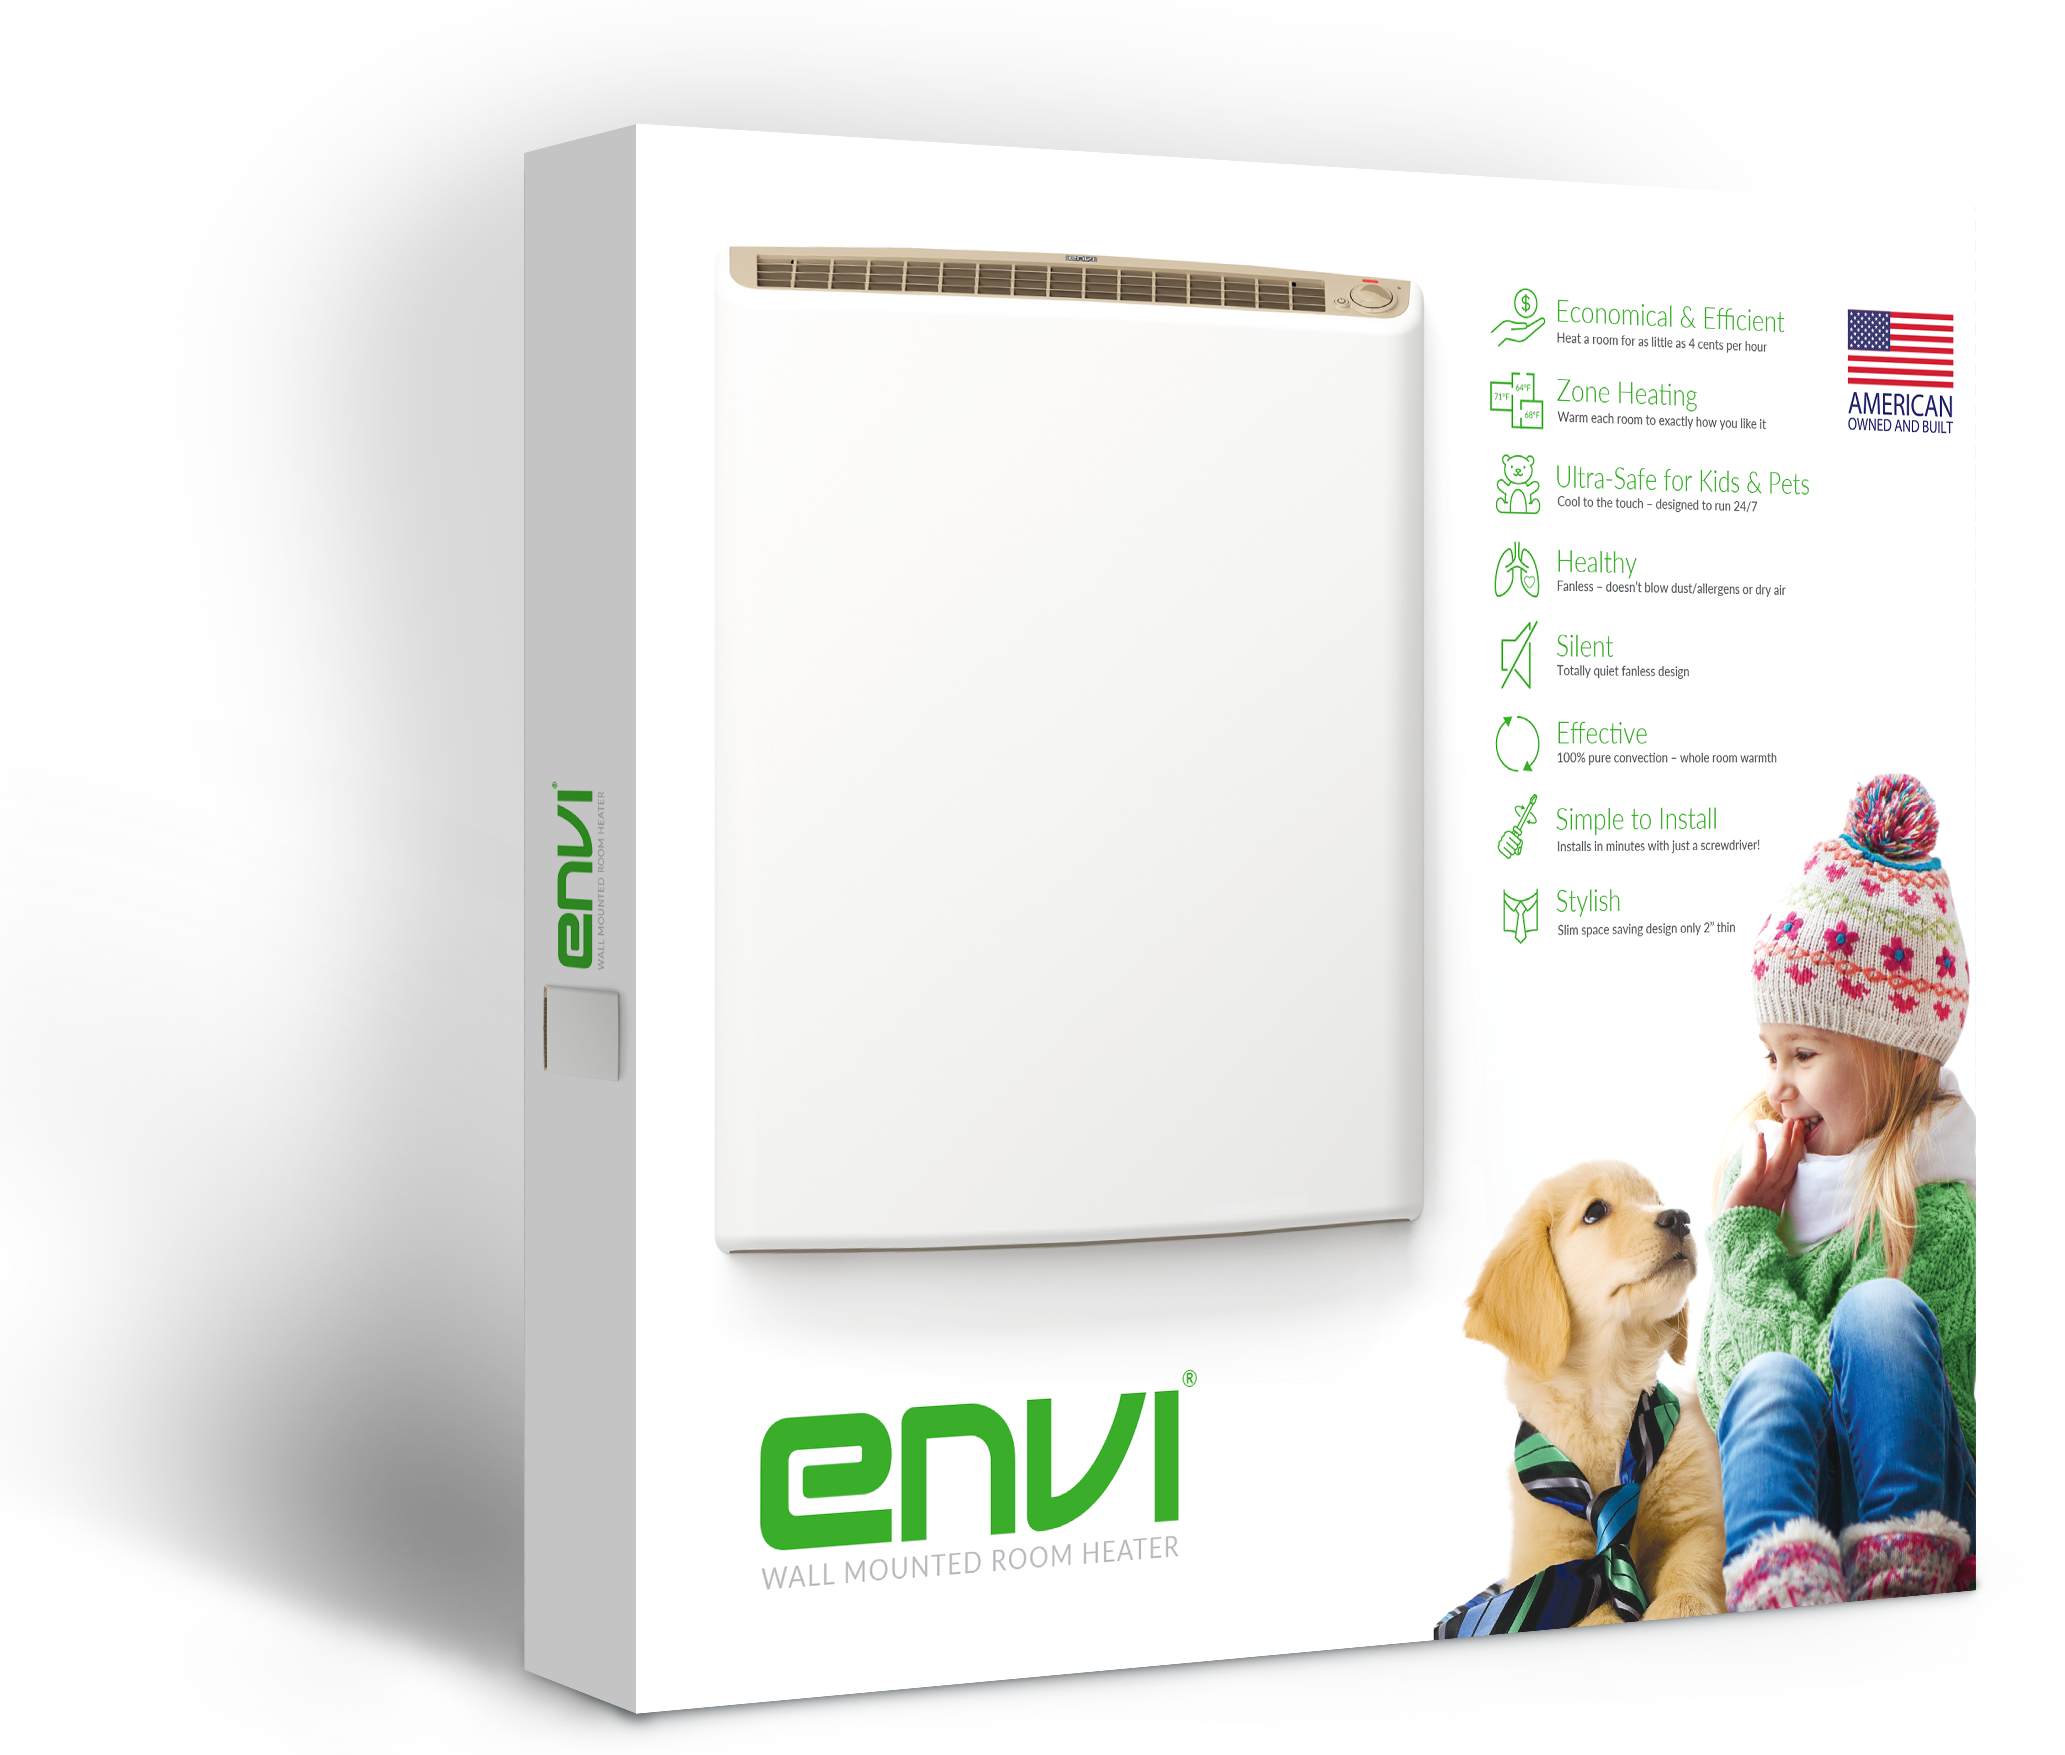
So, Are You Ready To Live Warmly?
If you want to...
- Stop spending too much money on heating your home or office...
- Save energy and carbon emissions by only heating the rooms you need...
- Have peace of mind knowing that your heater is safe to use around your family...
- Say goodbye to unhealthy forced air heating...
- Stay warm and cozy in every room of the house at the touch of a button...





Download the Envi Heating Bill Savings Guide for free!